One Solution for all Your Bathroom Needs
Reviews and buying guides for toilets, toiletries, and water purifiers.


Our Mission is to Help You
We know that your time is valuable. That’s why we do all the research for you, so you can spend your time on the things that matter most to you.


Reviews
We are glad that we have been able to help many users with our reviews. We post reviews about toilets, toiletries, and water purifiers.
25 April 2024
Exactly why Ebony monday is best Day soddisfare Donne
Il Ringraziamento è effettivamente ore fuori. Anche se forse stai superando il lago e attraverso boschi...
25 April 2024
Play Free Slot Machine No Download: The Ultimate Overview
If you enjoy playing slots paytrail kasinot yet do not intend to experience the inconvenience of downloading...
24 April 2024
wie genau Flirtet auf Twitter
Twitter ist mit ziemlicher Sicherheit nicht eHarmony … aber was machst du falls der Schwarm gerne...
24 April 2024
Get prepared for per night of excitement and fun
Get prepared for per night of excitement and fun There are many fun and exciting adult apps designed...
24 April 2024
Les 11 meilleurs|meilleurs|meilleurs|meilleurs|les plus utiles|les plus utiles} de Los Angeles Matchmakers de 2014
Parfois, c’est est mieux site de rencontre erotique quitter essentiel tâche vers pros, spécialement...
23 April 2024
1xbet официального Сайт Казино Игровыми Автоматами 1хбе
1xbet официального Сайт Казино Игровыми Автоматами 1хбет “казино Онлайн 1xbet Играть Онлайн В Казино...
23 April 2024
Unlock the potential of meeting ladies for sex now
Unlock the potential of meeting ladies for sex now There are advantages to fulfilling females for sex....
23 April 2024
5 Wörter Das sollte nicht Nehmen Eigenes Matchmaking -Profil
Als ein Follow-up zu meinem letzten Artikel ungefähr “5 Schlüsselwörter das muss sein in Ihrer...
22 April 2024
17 consistently Established places for Meeting one Cuban Cougar In 2023
So you’re into a lady from Cuba that is at the very least many years earlier? You love what you...
22 April 2024
How to find the perfect nympho woman for you
How to find the perfect nympho woman for you Finding the perfect nympho girl available could be a daunting...
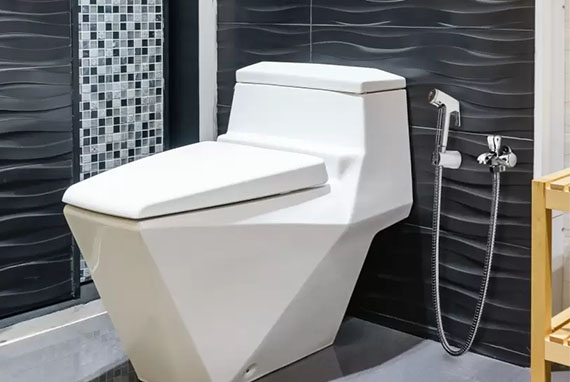
Renovate With Us
Are you making a new house or renovating the old one? Make sure that you read our reviews and buying guides so that your whole house is new, including your toilets.